After a long wait, the final version of Windows 11 is now available to all users, including those whose devices do not meet the minimum specifications required to run the new system.
 |
| How to download and install Windows 11 officially in detail |
Unfortunately, Microsoft limited the update to Windows 11 via Windows Update to a limited number of devices on the first day, provided that it will reach users of devices that meet the minimum specifications in a plan that will continue until the beginning of 2022. In our next topic, we will save you from waiting for the update to reach your devices and we will review with you how to download And install Windows 11 immediately without waiting.
Download Windows 11: Pre-start preparations
Before you start downloading the new version of the Microsoft system, you need to do several steps.
First, make sure that your device meets the minimum requirements to run the new system. For the minimum specifications, click here.
Second, make sure that your processor is supported in the list of supported processors. You can access this list here. If you own one of the 7th generation Intel processors, search for your processor within these processors from here.
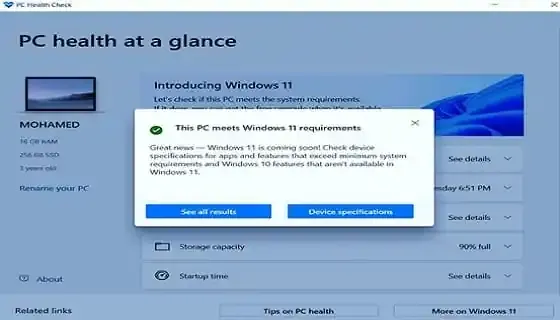
Third, download the PC Health Check tool to check the rest of the specifications and to make sure that you have activated TPM 2.0 and Secure Boot. If you need to activate TPM 2.0, follow the guide below: How to activate the TPM feature to be able to install Windows 11 on your computer?
If your device does not meet the minimum requirements, don't worry, you can rely on this guide: Install Windows 11 on old, unsupported devices
First: Download Windows 11
Head to the Windows 11 download link here.
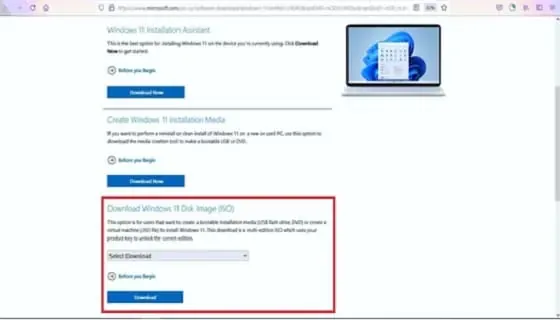
You will find 3 options to download Windows 11. The first way will be by directly downloading the 5.1 GB ISO file just like you download any file from the Internet. The second way will be by downloading the Microsoft tool to create an installation disc either via USB Drive or DVD, and the third method is through a program that will download the new system and update your device as you do when updating Windows 10.
We will review each method with you separately.
Download the ISO file for Windows 11 directly
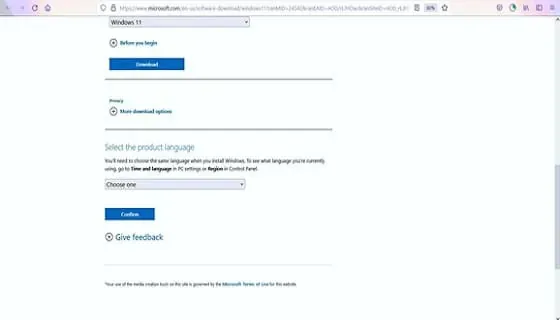
To download the ISO file, go to the last link at the top until you find the phrase Download Windows 11 Disk Image (ISO).
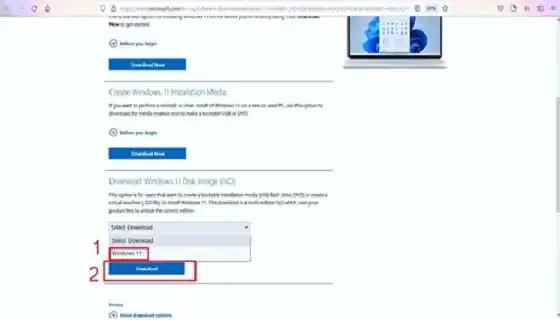
Click on Select Download, then select Windows 11, then click on Download.
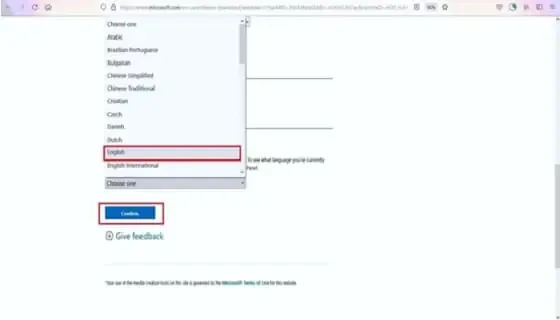
A new pane will appear under Download asking you to select a language. Click Choose One, select English, and then click Confirm.
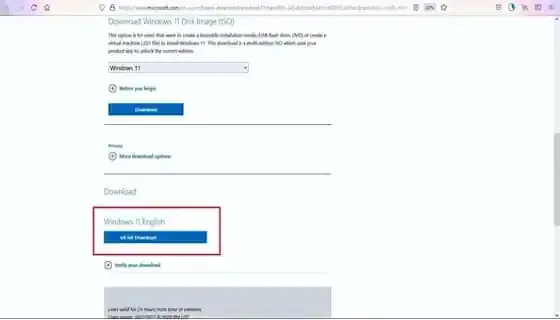
A download section will appear, click on (64-bit Download) to download.
You will then see a download window. Click Save or OK, depending on the browser you are using, and wait for the download process to finish.
Burn the ISO file to a USB flash
For this process, we will rely on Rufus, which is free and easy to use.
1- Download Rufus from the following link: Rufus Download
2- Connect the USB flash drive to your device and make sure it is completely empty.
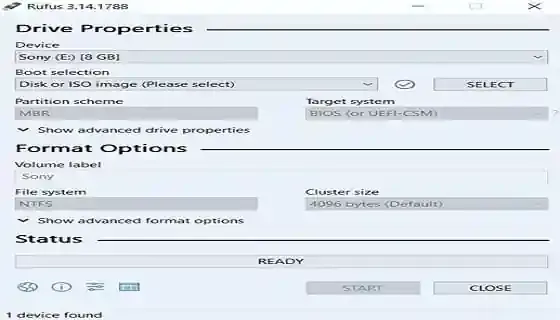
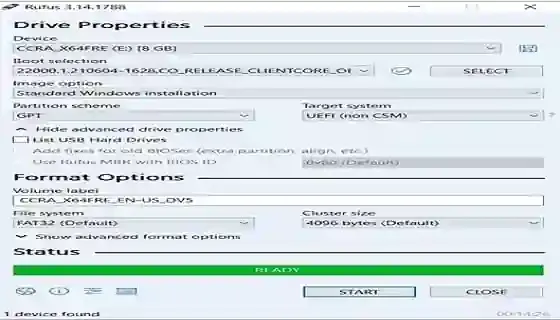
3- Run the downloaded file and the following window will appear:
4- Click on select to select the created ISO file, then choose GPT.
5- Click on Start to start the process of burning the ISO file to the USB flash drive.
Now that we have finished preparing Windows, let's start the installation process.
Download Windows 11 through Windows Installation Media
If you don't want to mount the ISO file and then burn it to a USB flash drive and want a ready-made tool that can do all this, follow this path and use Windows Installation Media.
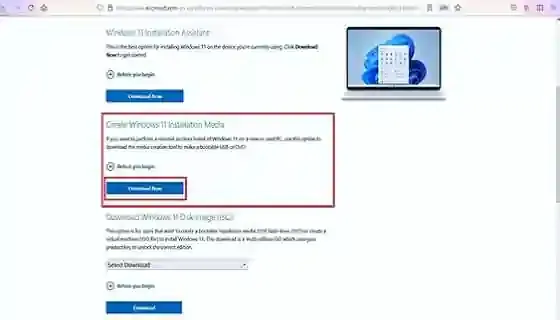
Head to the Windows Installation Media option as shown in the image, then click Download.
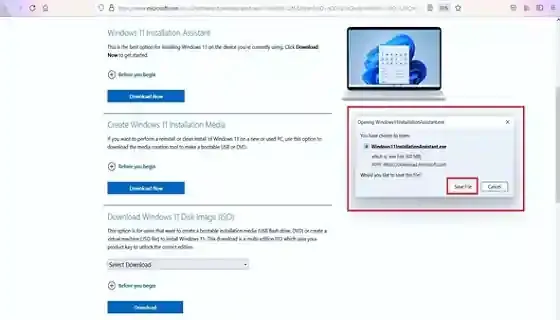
A small download window will appear. Click Save and wait for the download to finish. After the download is finished, open the file.
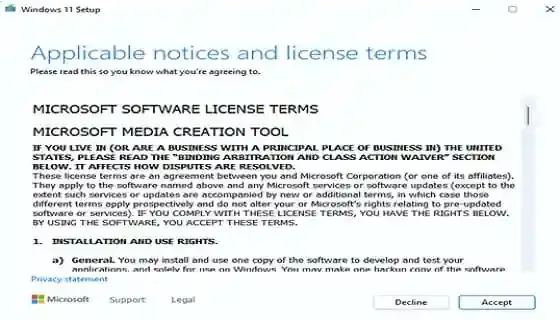
Agree to the Terms of Use and Privacy
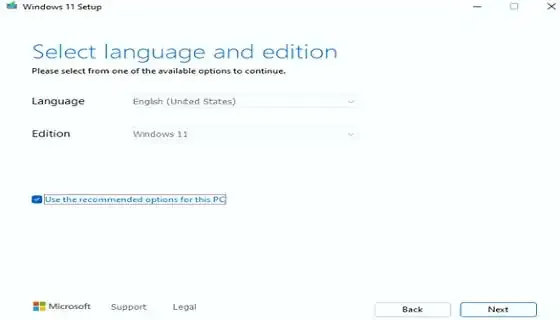
choose the language
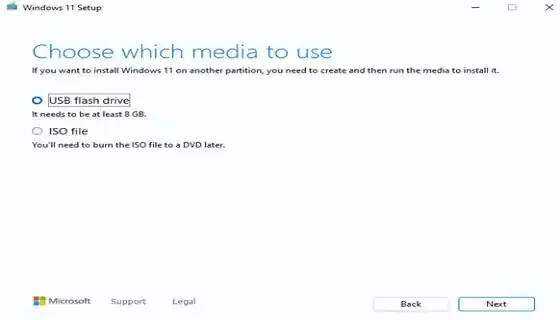
Choose the source for saving the Windows installation files. We are going to choose the first option because we are going to rely on a USB flash drive.
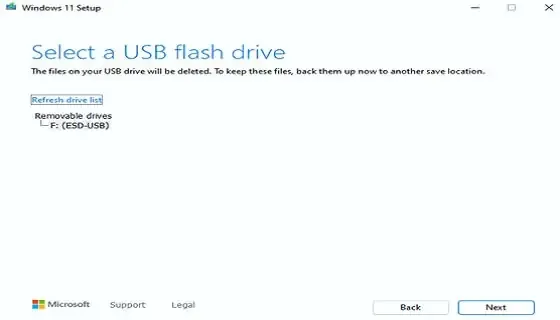
Choose the USB flash.
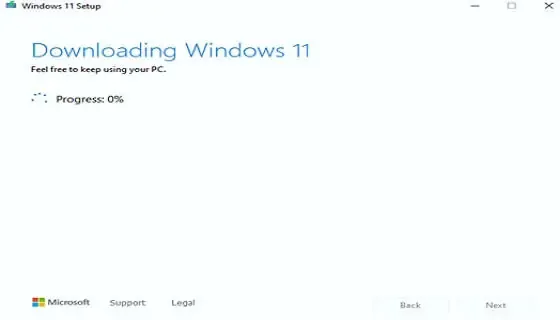
Download start.
After the download is completed, follow the steps to install Windows 11 that we review with you below.
Second: Install Windows 11, the latest version
You now have a USB flash drive with Windows 11 installed and ready to install the new version of the system.
Disclaimer: If you burned the ISO file using Rufus, as we explained in the first method, we advise you to start the installation process while Windows 10 is working and not by running the installation file when you start your device. This is because RUFUS requires Secure Boot to be closed which may hinder the installation process as it is a requirement of Windows 11.
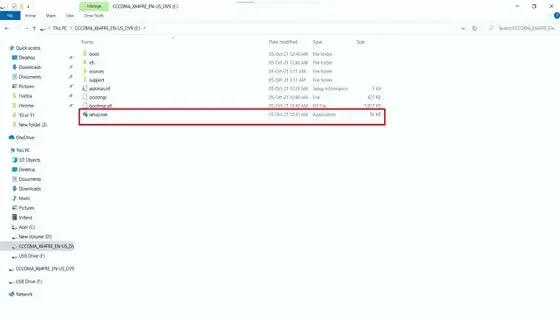
Go to the USB flash drive containing the ISO.
Run the Windows installation file.
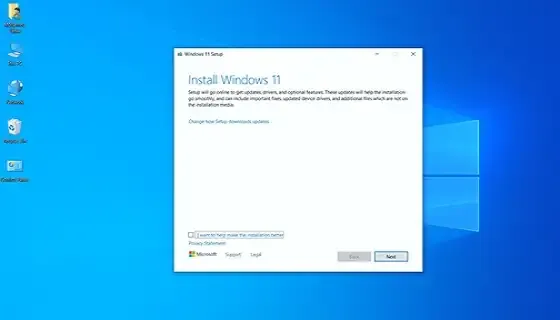
A window will appear that will continue with us until the beginning of the installation process. Click Install.
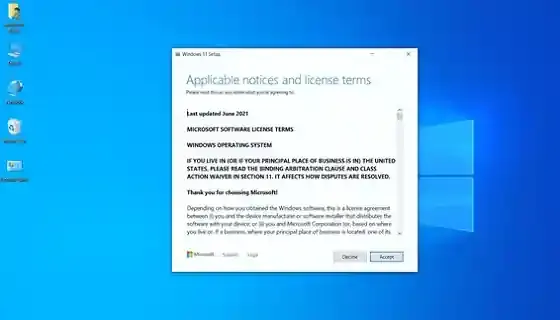
Agree to the terms and policy of use.
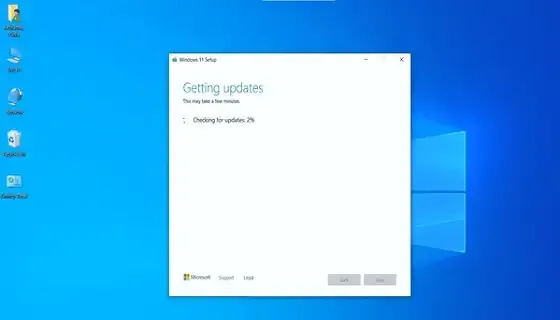
It will check for updates. It will often take some time but nothing will download unless it's been a while since you downloaded the Windows installation files.
A new version or an upgrade?
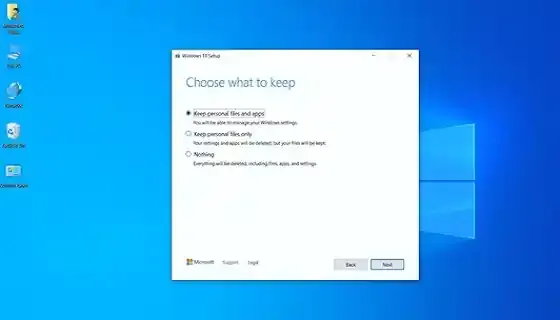
The Windows installer now tells you that you are ready to install Windows 11, but it remains only for you to choose the type of installation. By clicking on Change What to Keep you will be able to choose what you want to keep with you in Windows 11 and what you want to delete. You have 3 options, either you keep all files, applications, and programs, stay on files and delete applications and programs, or delete everything. I will choose the first option, but everyone can choose what he wants.
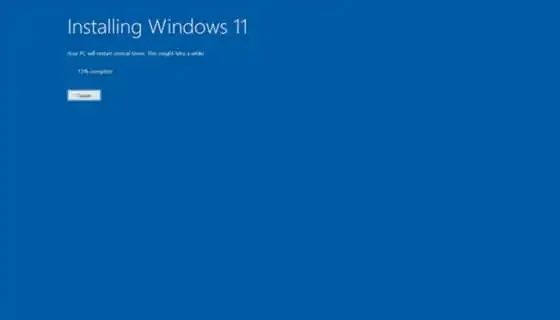
The system installation process will now begin.
The installation process will continue until the download percentage shown in the image above reaches 100% (this process may take a long time). After that, your device will restart more than once. After completion, the download and installation of Windows 11 on your PC will be completed successfully.
If you choose to update while keeping files and applications as they are, your desktop will appear as you left it in Windows 10 and you will not need to reinstall anything. If you choose to delete applications and programs, keep data, or delete everything, you will first have to log in with Microsoft Mail and specify the language, location, date, etc...

